Flutter Web brings the power of Flutter's declarative approach to web development, enabling developers to construct high-quality web applications. This open-source framework utilizes the Dart programming language, offering a seamless transition for developers familiar with Flutter for mobile development.
In this post, we'll walk you through the step-by-step process of deploying your Flutter Web projects using Docker and GitHub Actions.
Prerequisites
Before you start, ensure you have the following:
- Docker installed on your local machine. We will need to test our script in the local environment before deploying.
- A Docker Hub account, as we will deploy our images to Docker Hub. You can register here.
Setting Up a Cloud Server
If you don't already have a cloud server, you can set one up. In this tutorial, we'll use Digital Ocean for cloud hosting, but feel free to use your preferred cloud provider like AWS, GCP, etc.
Step 1: Set Up Digital Ocean
You can get a new Digital Ocean account here. Digital Ocean offers $200 USD in credits for your first signup.
After registering successfully, on the dashboard, click the Create Droplet button. A droplet is a virtual computer with a public IP address that is hosted by Digital Ocean.
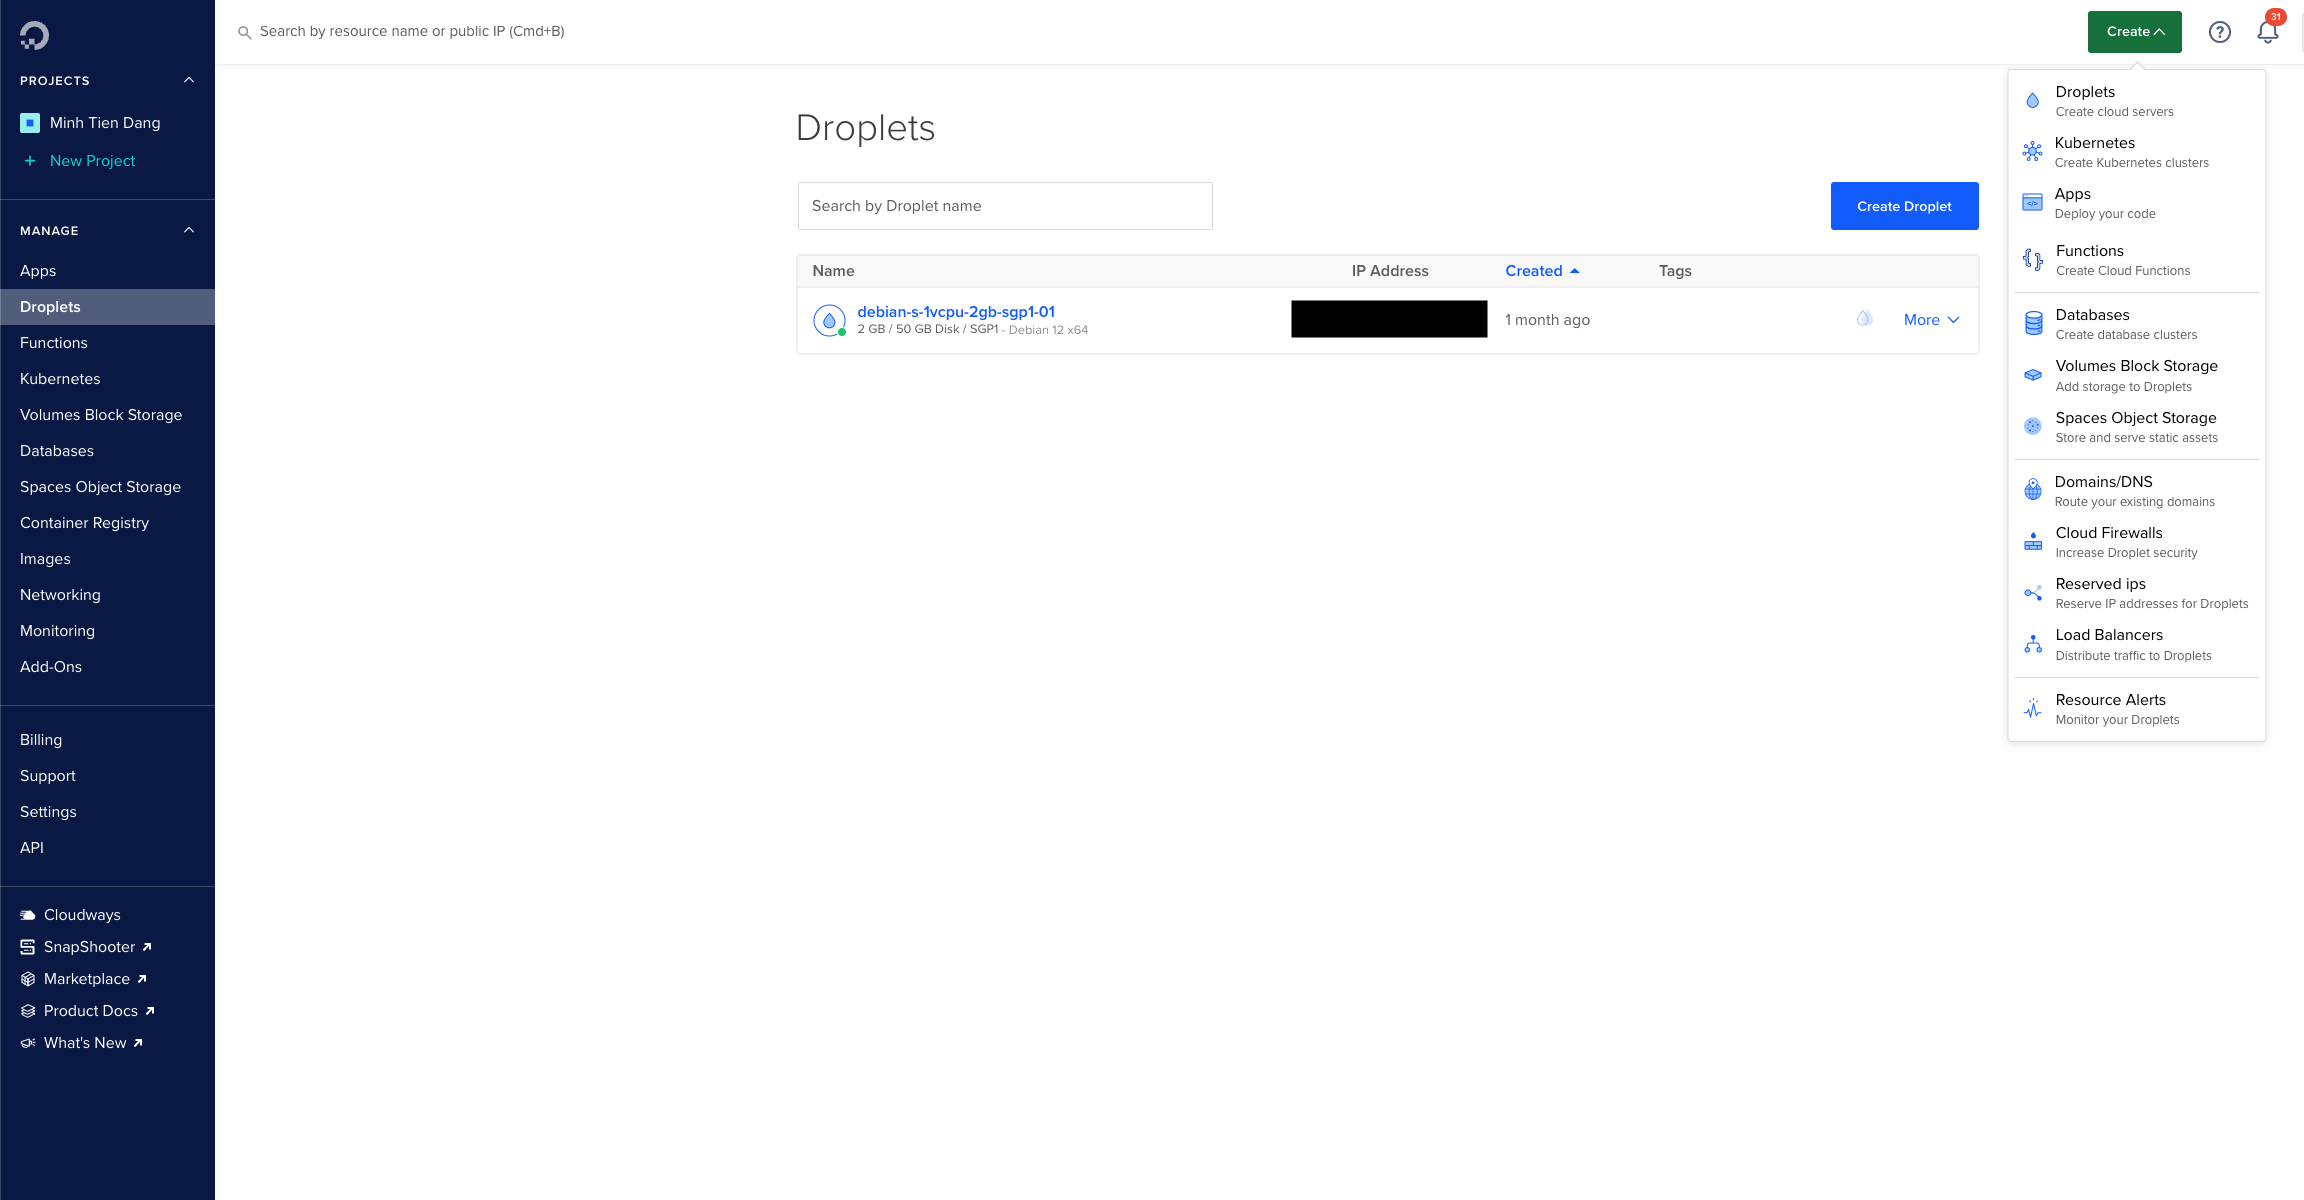
Step 2: Configure Your Droplet
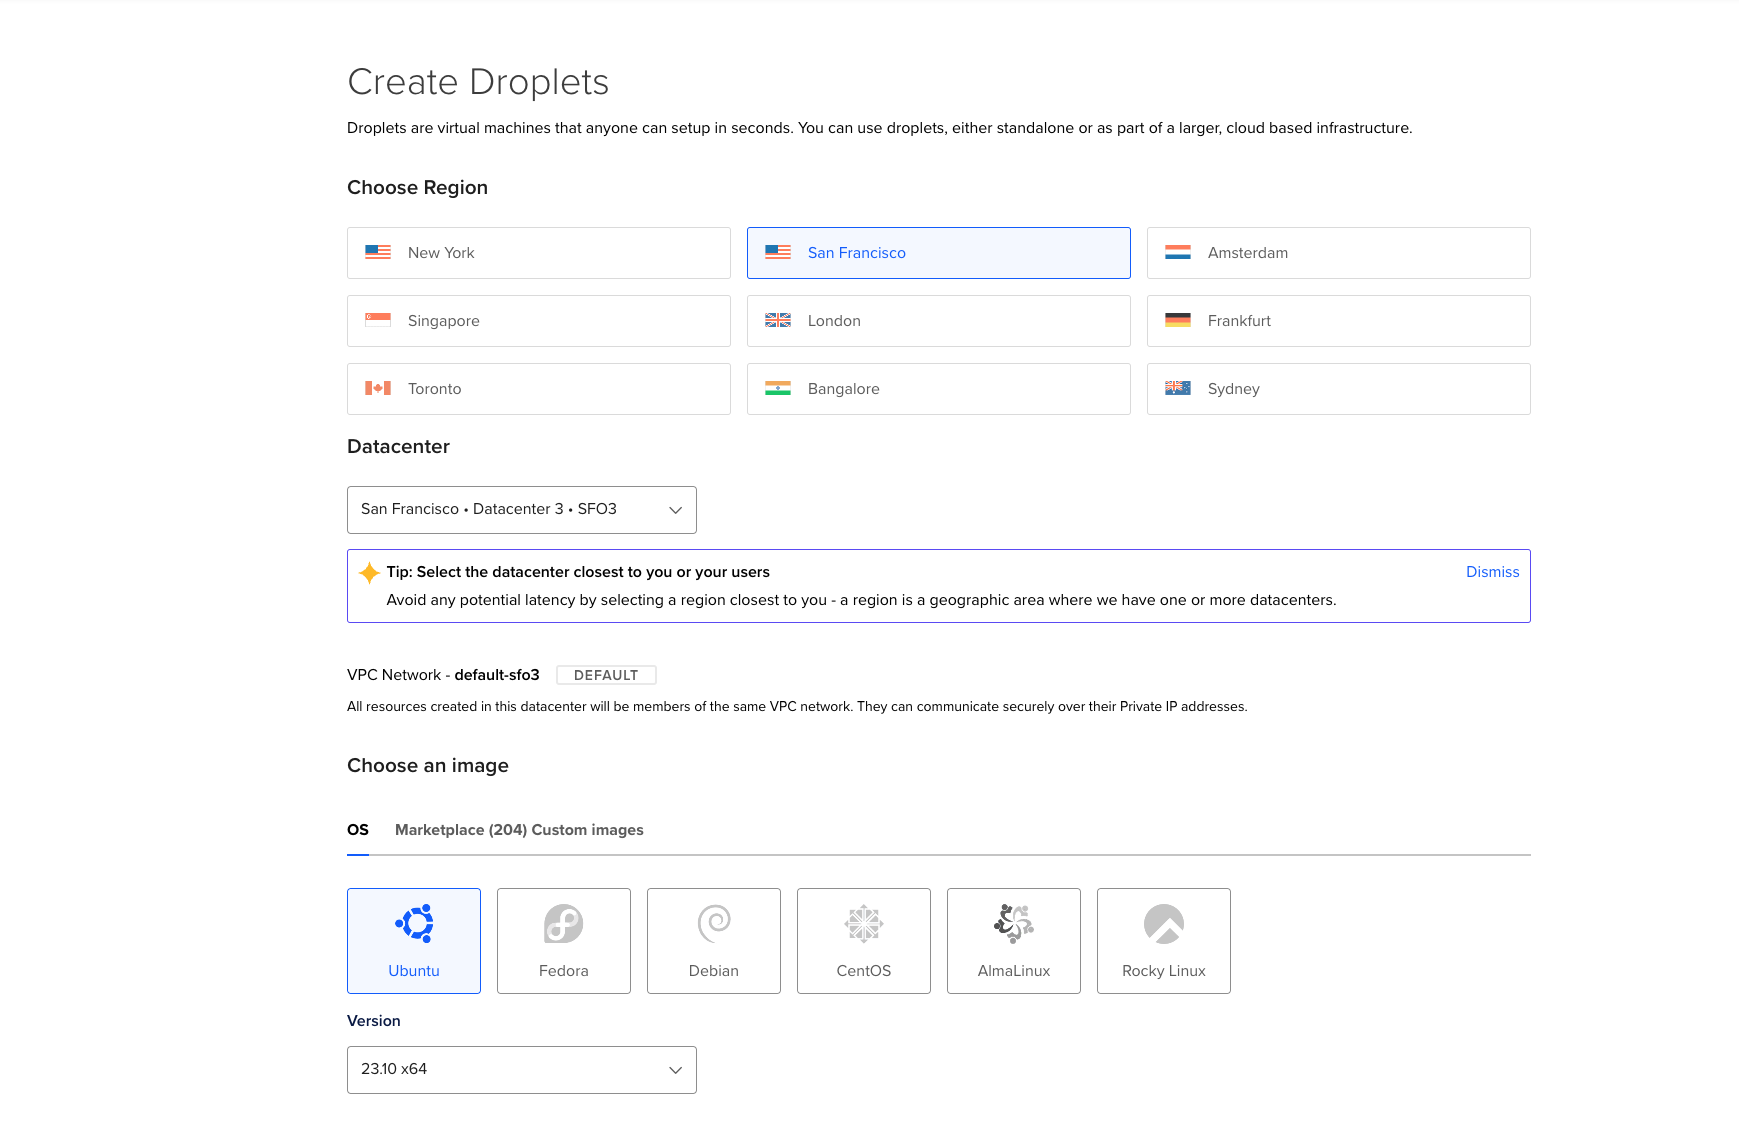
Here are my recommended configurations:
- Region: Singapore (Choose the region closest to your location)
- Image: Ubuntu (Ubuntu is a common Linux distribution)
- Size: Choose the cheapest option (1 CPU, 1GB RAM, $6/month)
- Authentication Method: SSH (Set up SSH for remote access)
Creating a New Flutter Web Project
To create your first Flutter web project, use the following command:
flutter create simple_web --platform web
Navigate to your project directory and run:
cd simple_web
flutter run -d chrome
You should now see your web app running on Chrome.
Deploying the Flutter Web Project
Before we start, let's discuss how to deploy our Flutter Web project.
If you trigger the build process using this command:
flutter build web --release
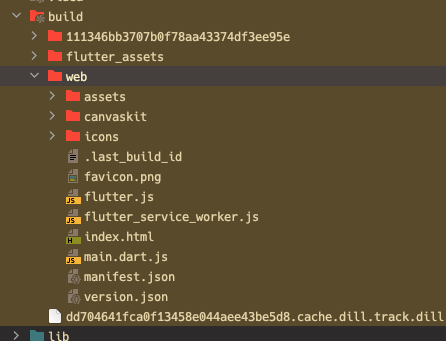
You will see a build/web/index.html file in the output directory. This directory contains the contents of your webpage, with index.html as the entry point.
Step 1: Setting Up Nginx
Create file nginx.conf, copy and paste the following configuration:
api {
    listen 80;

    location / {
        root /app;
        index index.html;
    }
}
Step 2: Writing a Dockerfile
If you're not familiar with Docker, you can learn more here.
Now, in your project directory, create a file called Dockerfile.
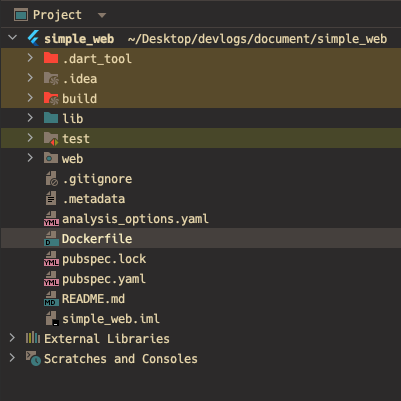
Here's a breakdown of the Dockerfile instructions:
- Build Step: Set up the Flutter SDK and build the Flutter web project.
- Run Step: Install Nginx, copy the build output, and start Nginx.
Dockerfile example
FROM ubuntu:16.04 as builder
USER root

# Install Flutter build-time dependencies
RUN apt-get update && \
    apt-get install -y --no-install-recommends git \
    wget \
    unzip \
    libglu1-mesa \
    lib32stdc++6 \
    ca-certificates \
    curl \
    tar \
    xz-utils clang cmake ninja-build pkg-config libgtk-3-dev && \
    rm -rf /var/lib/apt/lists/*

WORKDIR /

# Download and install Flutter SDK
RUN curl \
  https://storage.googleapis.com/flutter_infra_release/releases/stable/linux/flutter_linux_3.13.8-stable.tar.xz \
  -o flutter-sdk.tar.xz
RUN tar xf flutter-sdk.tar.xz && rm flutter-sdk.tar.xz

ENV PATH="$PATH:/flutter/bin"

RUN flutter config --no-analytics --enable-web && \
    flutter precache && \
    flutter doctor && \
    rm -rf .pub_cache

RUN dart pub global activate protoc_plugin
ENV PATH="$PATH":"/root/.pub-cache/bin/"

WORKDIR /src
COPY . .

RUN flutter build web --release

FROM ubuntu:16.04 as runner
USER root
WORKDIR /app

RUN apt-get update && \
    apt-get install -y \
    curl unzip nginx && \
    rm -rf /var/lib/apt/lists/*

COPY --from=builder /src/build/web .
COPY nginx.conf /etc/nginx/sites-available/default
RUN service nginx stop

ENTRYPOINT ["/bin/bash", "-c", "echo 'Start nginx...'; nginx -g 'daemon off;'"]
Step 3: Testing on Your Local Machine
In your project directory, build the Docker image:
docker build -t simple_web .
Once the build process is complete, run the Docker container:
docker run -p 3000:80 --name simple_web_container simple_web:latest
Visit localhost:3000 to see your web app.
Configuring GitHub Actions for Continuous Deployment
GitHub Actions allows us to automate the build and deployment process.
Step 1: Allow GitHub Actions to Perform SSH
To enable GitHub Actions to connect to your cloud server via SSH, generate an SSH key on your server:
ssh-keygen
Next, retrieve your private key:
cat ~/.ssh/id_rsa
Copy the output, then open your GitHub repository settings, and navigate to Secrets and Variables.
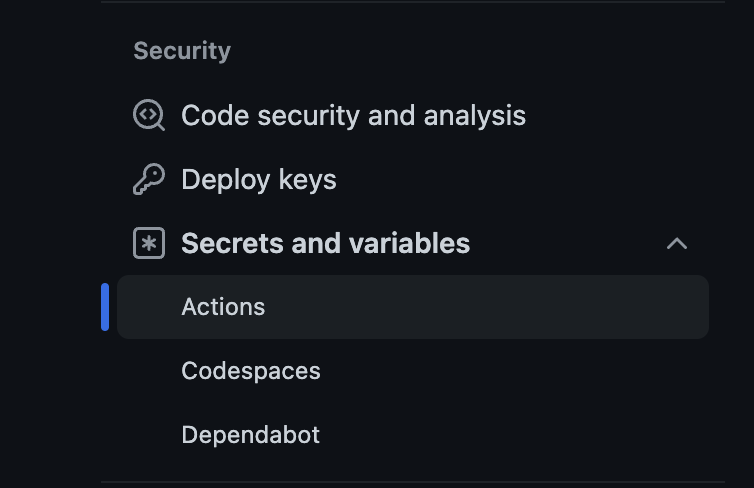
Create a new repository secret and enter the following information:
- SSH_PRIVATE_KEY: Your private SSH key
- SSH_HOST: The public IP address of your cloud server
- DOCKER_REGISTRY_USERNAME: Your Docker Hub username
- DOCKER_REGISTRY_PASSWORD: Your Docker Hub password

Step 2: Creating the GitHub Workflow
In your project directory, create a .github/workflows/ci.yaml file.
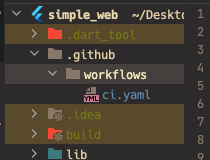
Here's an example ci.yaml file:
on:
  push:
    branches:
      - 'main'

env:
  IMAGE_NAME: ${{ secrets.DOCKER_REGISTRY_USERNAME }}/simple_web

jobs:
  build:
    runs-on: ubuntu-latest
    steps:
      - uses: actions/checkout@v3
      - name: Docker login
        run: echo ${{ secrets.DOCKER_REGISTRY_PASSWORD }} | docker login -u ${{ secrets.DOCKER_REGISTRY_USERNAME }} --password-stdin
      - name: Build Docker image
        run: docker build -t ${{ env.IMAGE_NAME }} .
      - name: Publish Docker image
        run: |
          docker push ${{ env.IMAGE_NAME }}

  deploy:
    needs: build
    runs-on: ubuntu-latest
    steps:
      - uses: actions/checkout@v3
      - name: Deploy
        run: |
          install -m 600 -D /dev/null ~/.ssh/id_rsa
          echo "${{ secrets.SSH_PRIVATE_KEY }}" > ~/.ssh/id_rsa
          ssh-keyscan -H "${{ secrets.SSH_HOST }}" > ~/.ssh/known_hosts
          ssh -tt root@${{ secrets.SSH_HOST }} "docker pull ${{ env.IMAGE_NAME }}:latest && \
            docker rm -f simple_web && docker run -d --rm --name simple_web -p 3000:80 ${{ env.IMAGE_NAME }}:latest"
      - name: Cleanup
        run: rm -rf ~/.ssh
Now, let's push the code to Github. Then we should able to see the our workflow available in tab Actions
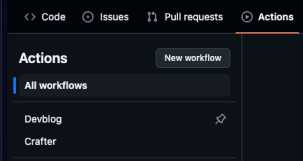
Start your workflow, and I wish you best luck !
Final Thoughts
Thank you for reading! I hope this guide helps you deploy your Flutter Web projects with Docker and GitHub Actions. Stay tuned for more tutorials on optimizing your web deployment with CDN integration.